

A young lady named Camila asked me to create a tutorial for this cute crochet bow, and here it is! It's my first official tutorial, so if anything seems confusing or you think I missed a step please email me and I will try to help you out! In order to make this you need to know the very basic steps to crocheting. Here is a link to The Lion Brand Yarn "Learn to Crochet" page. I think they have great visuals. You can also check out youtube for more videos. (I also found the Klutz crochet book VERY useful, but as of the time of this post, it was no where on their website for purchase- might want to try ebay or amazon?) This is a super easy project and is great for all ages and skill levels. These are also the same steps I used to make the Crochet Bow Bracelet.
Here goes....

These are your materials. You need 28 Gauge wire, you choice of color, (It can be found at your local jewelry or craft store) Wire cutters, and a crochet hook (I used size E4-3.5MM).

Start by making a slip knot.
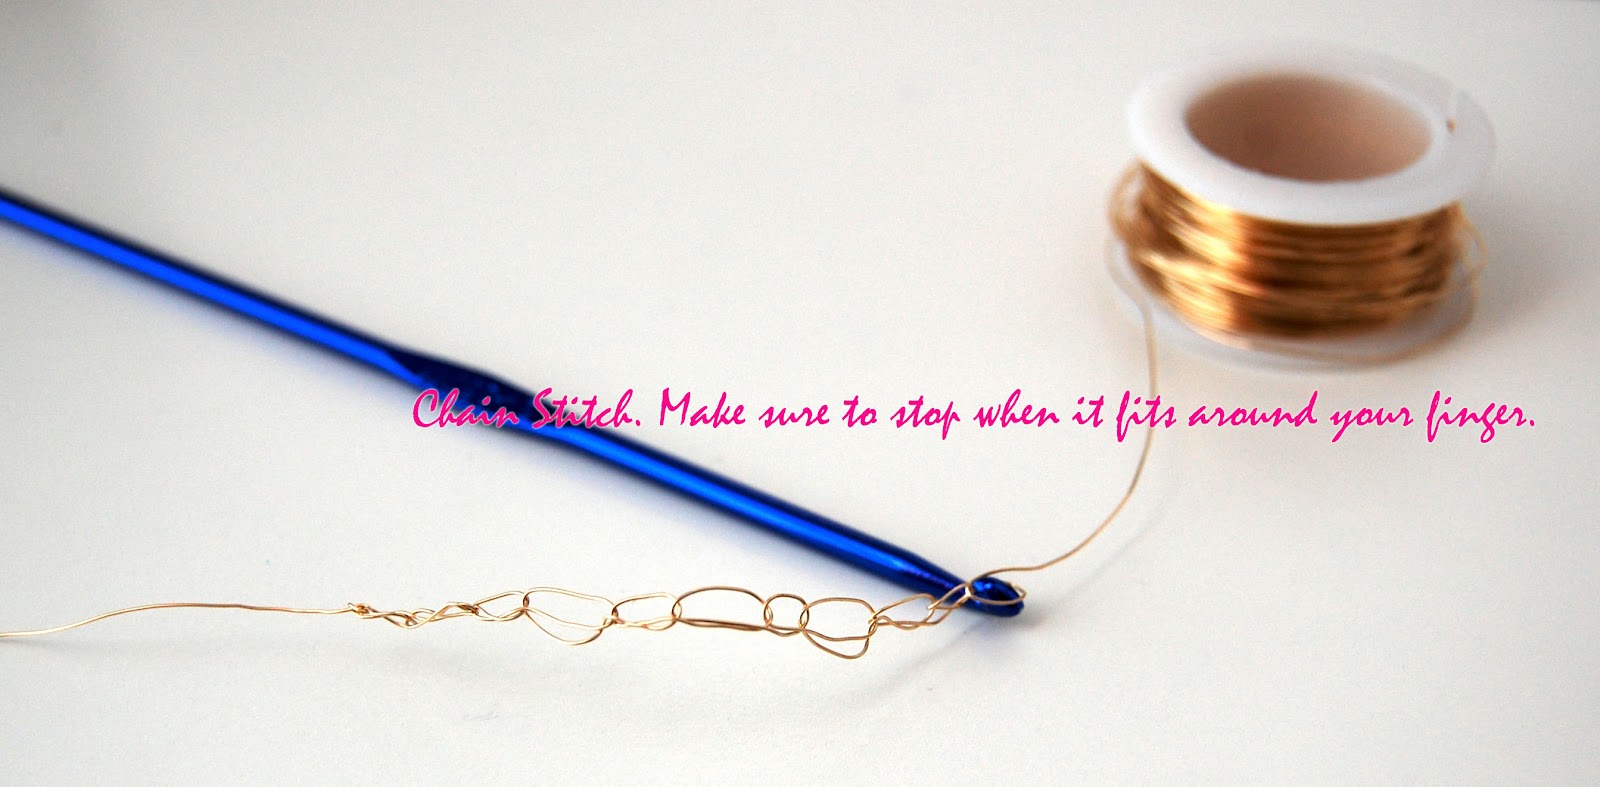
Chain a few stitches. You need the length that will fit around your finger, so you need to measure it (around your finger). This will vary for everyone so I don't have a specific number to give you. Your stitches do not need to be perfect, thats the beauty of the project. As you can see in the picture my chain stitches were all slightly different sizes. It will give the ring personality. (If you are making the bracelet, increase the amount of chain stitches here, enough to fit over and on your wrist)

Turn your work, and single crochet into the whole chain you just made. This will make the band less flimsy. When you have reached the end, snip off the wire but leave about a three inch tail.

Now lets join both ends of the band. lightly twist the two wires together (Do not- and I can't stress this enough- twist the strands too much, they will break off, it happened to me and made me pout).

Here is what it looked like after I pulled the wire through, now we will begin to wrap this long wire around the band.

Give it a firm tug every time you wrap the wire around. Wrap it a few times, I did about five turns. Make sure it is snug so it stays in place.

Now lets start the bow. We will start the same way you did the band, with the chain stitch. Chain it to your desired length, keeping in mind the more chain stitches the longer the bow will be on your finger, and the less chain stitches the smaller it will be. I suggest at least six chain stitches. When you are done with your chain stitches you will turn your work and start making a few rows of single crochet stitches.

Here is a tip for working with the wire which can get pretty unruly. Pull off about six inches of wire (at a time) and then slip it through that small slit that (hopefully) came with your wire spool If you don't have a slit, take some tape and tape it down.

Check to make sure you are happy with the length, width and height of the rectangle. I only did two rows of single crochets here, but prefer it with three rows. (as with THIS ring- Oh and by the way, feel free to click "Like" while there!) When you are happy with the size of your rectangle, fasten it off and cut off the wire with your wire cutters.

Lets hide those loose ends. Simply string them into the rectangle, they will camouflage right in.

When you string them in a few times, snip off the ends and you might be left with a sharp little piece of wire. You can either; use a nail file to file it down and smooth it out, or use your fingers to bend the tip and curve it so it can no longer poke you (I just bend the wire with my finger).

This is what you should have now.

Shape the rectangle into a bow. Pinch the middle and round out the edges. Play with it until you are satisfied with its shape.

Cut off some wire (about 10 inches) and wrap it around the pinched portion of the bow a few times. Leave some wire for the next step.

Lets attach the bow to the band. It can feel a little tricky to do this so I shared some pictures of how I hold it.

Side view of how I hold it. Not too hard right?

Now get wrapping...wrap wrap wrap. You should be a pro at wrapping by now.

Cut off whatever wire is left, smooth out the wire tip(s) you just cut (using whatever method you used before) and Viola! you're done. Wasn't that easy? Now go ahead, you deserve to show off your ring and gloat a little about the fact that you made it.
XoXo, Sellz


